After so many requests asking how we did the glittery baubles on the One Day Wonder shows on Create and Craft and with a little help from my friends Alison and Kate at Tonic HQ we've put these instructions together showing what we did step by step.

Items needed:
Glass Baubles with removable and replaceable tops
Johnsons 'Klear' Liquid Floor Wax
Nuvo Pure Sheen Glitter
Syringe or funnel to get the liquid polish into the bauble.
Decorative ribbon
Take the top off one of the baubles
Decant some of the liquid floor wax into the lid
Then using the syringe, pop it into the bauble, swirl it around, covering the hole at the top with your finger so it doesn't spill out.
Once it has a coating inside, tip the rest of the floor wax back into the lid and let the bauble drain for a few minutes.

Either using a clean funnel, a paper cone or just over a sheet of paper, put some of the glitter into the bauble
Again, covering the hole at the top, shake the bauble until the glitter completely covers the inside

Tip out any excess glitter.

Replace the bauble top
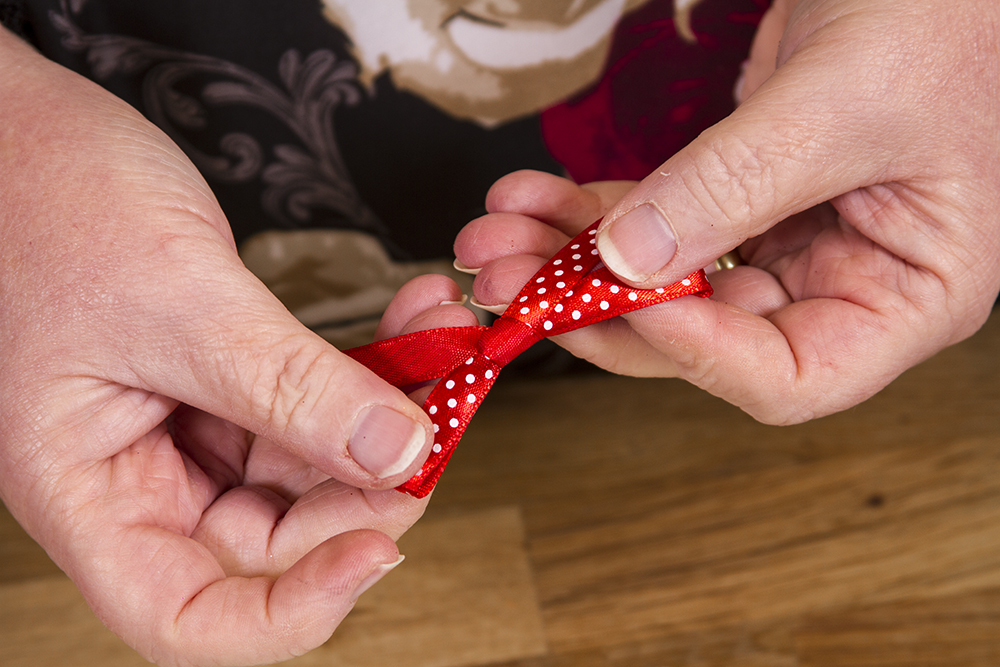
Tie a decorative bow
and your bauble is ready to hang on your tree :) and the best bit is the glitter won't shed everywhere.
I have had some of these on my tree for a few years now and the glitter is still intact on the inside :)
Have a sparkly crafty Christmas
Karen x


